Pipettes are tools for transferring or measuring small volumes of liquids from one container to another very accurately. Various models of pipettes are available. At first they were made of glass, but today they are also available in the market as plastic pipettes and they have different types.
Pipettes are tools for transferring or measuring small volumes of liquids from one container to another very accurately. Various models of pipettes are available. At first they were made of glass, but today they are also available in the market as plastic pipettes and they have different types. Recently, electrically controlled pipettes have also entered the market. The emphasis of this article is on fixed volume pipettes and variable volume pipettes with mechanical control. We will also talk about the maintenance and calibration of mechanical pipettes and the use of pipettes.
From the use of pipettes, we can mention their use in clinical and research laboratories to remove small volumes of liquids with great precision. These consumable parts are used in accuracy and speed in conducting laboratory tests, which are available in the market in different sizes and types of glass and plastic. Pipettes are usually disposable, but some of them, which are mainly made of glass, can be used more often.

Figure 1) Multi-channel pipette

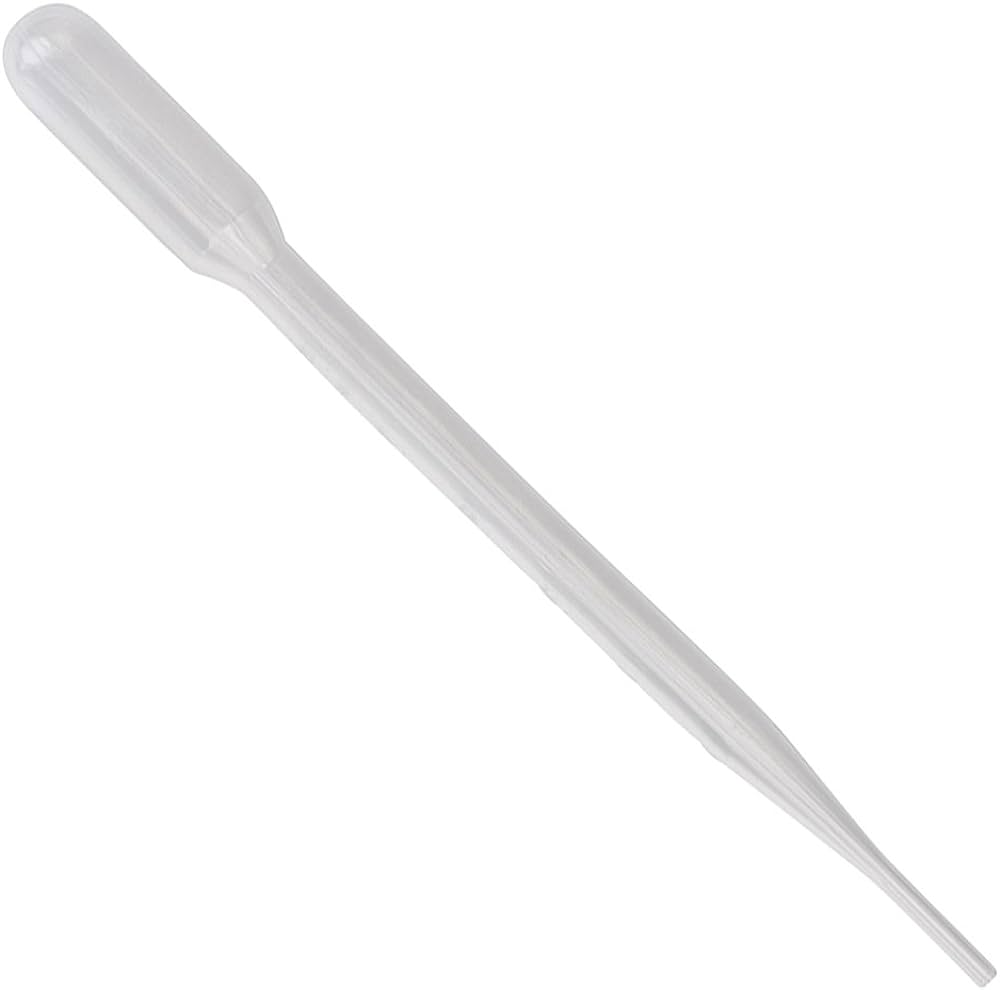
Figure 2- Single channel pipette
Figure 3) Different components of a pipette
Mechanical or piston pipettes usually operate by applying manual pressure to the piston. A piston inside a cylinder with a fixed length moves and directs a certain volume of liquid into or out of the pipette.
There are two types of piston pipettes:
Adjusting the variable volume on the pipette is done by moving the piston and according to the piston's operating range. In these types of pipettes, the nominal volume is the largest type of volume that the pipette can hold.
Fixed and variable pipettes are divided into two types A and B:
Type A (or Air Displacement Pipettes): In this type, there is a volume of air between the piston head and the liquid inside the pipette cylinder.
Type B (Positive Displacement or Direct Displacement Pipettes): In this model, the piston is in direct contact with the liquid. One of the uses of type A pipette is that it is less likely to be contaminated in more uses; But unlike B-type pipettes, they are not accurate enough when they are used to remove very small volumes, because the air in them is condensed and compressed.
Figure 4- Types of pipettes
In order to identify the different volumes on the pipettes, some manufacturers of these parts use color codes. The following table represents the same color codes:
| volume ( l µ ) | Color |
| 0.1-2.5 | Black |
| 0.5-10 | Gray |
| 2-20 | Gray/yellow |
| 10-100 | yellow |
| 50-200 | yellow |
| 100-1000 | Blue |
| 500-2500 | Red |
In order to obtain accurate and reliable results, the user must know how to use the pipette correctly and be familiar with the full details of the steps involved. The following recommendations will help you to properly benefit from the use of pipettes:
Warning: Before using the pipette, make sure it is calibrated for volume transfer of liquids.
To use the pipette, the laboratory must be clean and have sufficient light.
The general terms of use are:
Ensure the relative humidity of the room (<50%). Pipettes, samples and liquid materials must be stable under laboratory conditions. It is usually suggested that these materials reach room temperature 2-3 hours before testing.
Make sure the pipette is in a vertical position in the solution. This mode reduces the inaccuracy in transmission!
The table of the minimum placement capability of the head sampler according to the capacity of the pipette volume
| Volumetric capacity of the pipette ( µl ) | The minimum placement capability of the head sampler ( mm ) |
| 1-100 | 3-2 |
| 100-1000 | 4-2 |
| 5000-1000 | 5-2 |
After filling the head sampler, clean the drops on the tip of the head sampler. For this purpose, slowly touch the tip of the head sampler to the wall of the test tube. The use of absorbent paper may be necessary, in this case more care should be taken to prevent possible contamination.
Below are the common procedures for using type A mechanical pipettes. The user should pay attention to the manufacturer's recommendations. These steps are also used in the use of electric pipettes. Figure 5 explains these steps.
Figure 5- The steps of using a pipette
Place the head sampler tip in the liquid according to the guide table or use the manufacturer's recommendations and keep the pipette completely vertical. This corresponds to position B1 (first from left) in the figure.
Hold the tip of the head sampler in the test tube at an angle of 30-45 degrees to the inner wall of the tube. If the test tube that receives the liquid contains a solution, avoid contact of the tip of the sampler with the solution inside the test tube (position A3).
Note: If variable pipettes are used, the required volume should be selected according to the manufacturer's instructions. There is usually a volume control button on the top of the pipette. It is necessary to recognize and familiarize the user with the scales for the correct use of pipettes.
The usual and correct method of maintaining mechanical pipettes is given below, which includes parts of evaluation, cleaning (decontamination), calibration, as well as materials and resources related to them.
Daily evaluation of pipettes is necessary to find failure, damage or to ensure their proper functioning. This assessment should include the following:
Every day, the pipette should be cleaned with a suitable solution or detergent. The choice of detergent should be based on the manufacturer's recommendations.
Pay attention to the use of pipettes. If pipettes are used to transfer corrosive or harmful substances, the user is responsible for cleaning and disinfecting them before using them again or removing them from the laboratory work steps. It is suggested to prepare a report in which the type, model, serial number and contaminating materials and materials used after cleaning the pipette are recorded in it.
Figure 6- Steps to open the components of a pipette
The performance of the pipette that is used daily should be checked as follows:
Open the pipette components according to the instructions in the manual. These steps are different according to the model and manufacturing company, but its main body is opened by a screw.
Clean the gaskets, piston and inside of the cylinder before oiling. If internal components are accidentally contaminated, all surfaces should be cleaned with normal washing-up liquid and distilled water .
If it is necessary to replace the gaskets, they should be replaced with the same gaskets with the same specifications as the original type. The type of washers is different depending on the types and application of pipettes.
The calibration of pipettes is done with the standard method and generally depends on its volume; The smaller the volume, the more expensive the calibration process will be. A brief description of the calibration steps for 20μl and 1mm pipette volumes is described below:
Analytical balance
A hygrometer with a standard uncertainty of 10% or less
Pressure gauge with standard uncertainty of 0.5 KPa or less
timer
Micropipettes with variable volumes
Disposable head samplers of different sizes
Vials with flat bottoms
Distilled water that has been distilled 2 or 3 times.
First of all, you need to know that every three years you should calibrate the laboratory pipette for correct and standard use. These steps are based on measuring the net weight of water distributed by a pipette in an empty vial and dividing it by the density of water. In practice, to prepare a series of readings, the weight of each suction (after correction by temperature, pressure and evaporation factors) is precisely recorded. With this, you can do the following:
Checking the precision of a pipette
Controlling the effective factors in the use of a pipette by different users according to the application of the pipette and its types
The following steps apply to mechanical pipettes:
Connect a new head sampler to the sampler.
Pipet the distilled water and empty it into another container; Repeat this at least 5 times until the air humidity inside the pipette is fixed.
Pour water into the weighing container until the water level reaches at least 3ml.
Record the weight that the display shows on the laboratory scale or set it to zero.
Proceed using the following steps:
Calculate the weight of the water that was poured into the weighing container by the pipette each time. For this, subtract the new reader from our penultimate reader (for each reader). If necessary, add the average amount of evaporated water to it.
Calculate the standard deviation.
| Troubleshooting table | ||
| Problem | probable cause | solution |
| The pipette drips. | The connection of the head sampler to the pipette is not good. | Connect the head sampler according to the manufacturer's recommendations. |
| There are small foreign particles between the sampler and the adjusting screw. | Clean the connections. Remove the head sampler, clean the conical part (the connection point of the head sampler) and use a new head sampler. | |
| There are small foreign particles between the piston and the gasket in the cylinder. | Open the cylinder part of the piston, clean and lubricate it and reassemble it. | |
| The washer is not sufficiently lubricated. | Open the parts and lubricate the pipette to increase the efficiency of its use. | |
| The gasket is damaged. | Replace the washer. Open and clean the parts, change the gasket and lubricate and close the parts again. | |
| The piston is contaminated. | Clean the piston and apply a small amount of oil. | |
| Head sampler connection is loose. | Adjust the connection point of the sampler. | |
| There are visible water drops in the head sampler. | The inner wall of the head sampler is not uniformly wet. | Use a new head sampler. |
| The pipette is not accurate enough! | The pipette is not used correctly. | Control the pipetting method and correct the observed errors. |
| There are foreign particles under the pipette activation button. | Clean the connector. | |
| The connection of the head sampler to the pipette is not good. | Check the head sampler connection. Use another head sampler that matches the PPT specifications. | |
| Pipette calibration is not perfect. | Recalibrate the pipette using standard methods. Control the steps. | |
| The head sampler is contaminated. | To fix the error and use the pipette correctly, please use the new head sampler. | |
| The accuracy of the head sampler with specific solutions (standard) is not good. | Pipette calibration is not perfect. | Recalibrate the pipette using standard methods. |
| If concentrated solutions are used, adjust the calibration. | ||
| The control button does not move smoothly. | The piston is contaminated. | Clean and lightly lubricate the piston. |
| The washer is contaminated. | Open the pipette and clean all the gaskets. Replace if necessary. Lubricate sparingly. | |
| The piston is damaged. | Replace the piston gasket. Lubricate sparingly. | |
| The dissolved particles are introduced into the pipette. | Open the central connection of the pipette. Clean and lightly lubricate the solution particles. | |
More Images: