Our body is made up of different types of blood cells. These cells, which have different shapes and sizes, are colored according to their structure. Therefore, the cells are divided into 3 categories: neutral, acidophilic and basophilic.
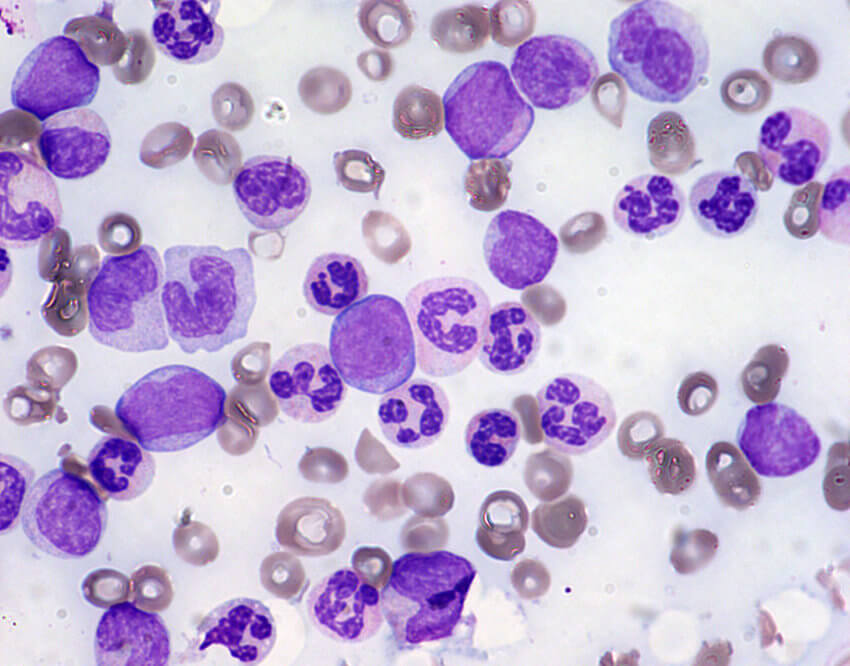
Our body is made up of different types of blood cells. These cells, which have different shapes and sizes, are colored according to their structure. Therefore, the cells are divided into 3 categories: neutral, acidophilic and basophilic. A group of cells or cell components that have basophilic properties have a strong tendency to absorb acidic dyes, while a group of cells that have acidophilic properties have a greater tendency to absorb basic dyes. For this reason, all the coloring solutions used in laboratories are a combination of these three types.
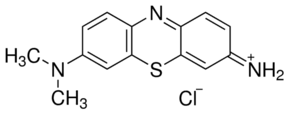
One of the most widely used staining solutions for blood cells is Romanovsky dyes. This category of colors has two basic components, basic (methylene blue) and acidic (eosin or azure). Romanovsky colors are divided into the following 4 categories:
1. Giemsa color
2. Leishman color
3. Write color
4. Field's color
In this article, we will examine the Giemsa staining method.
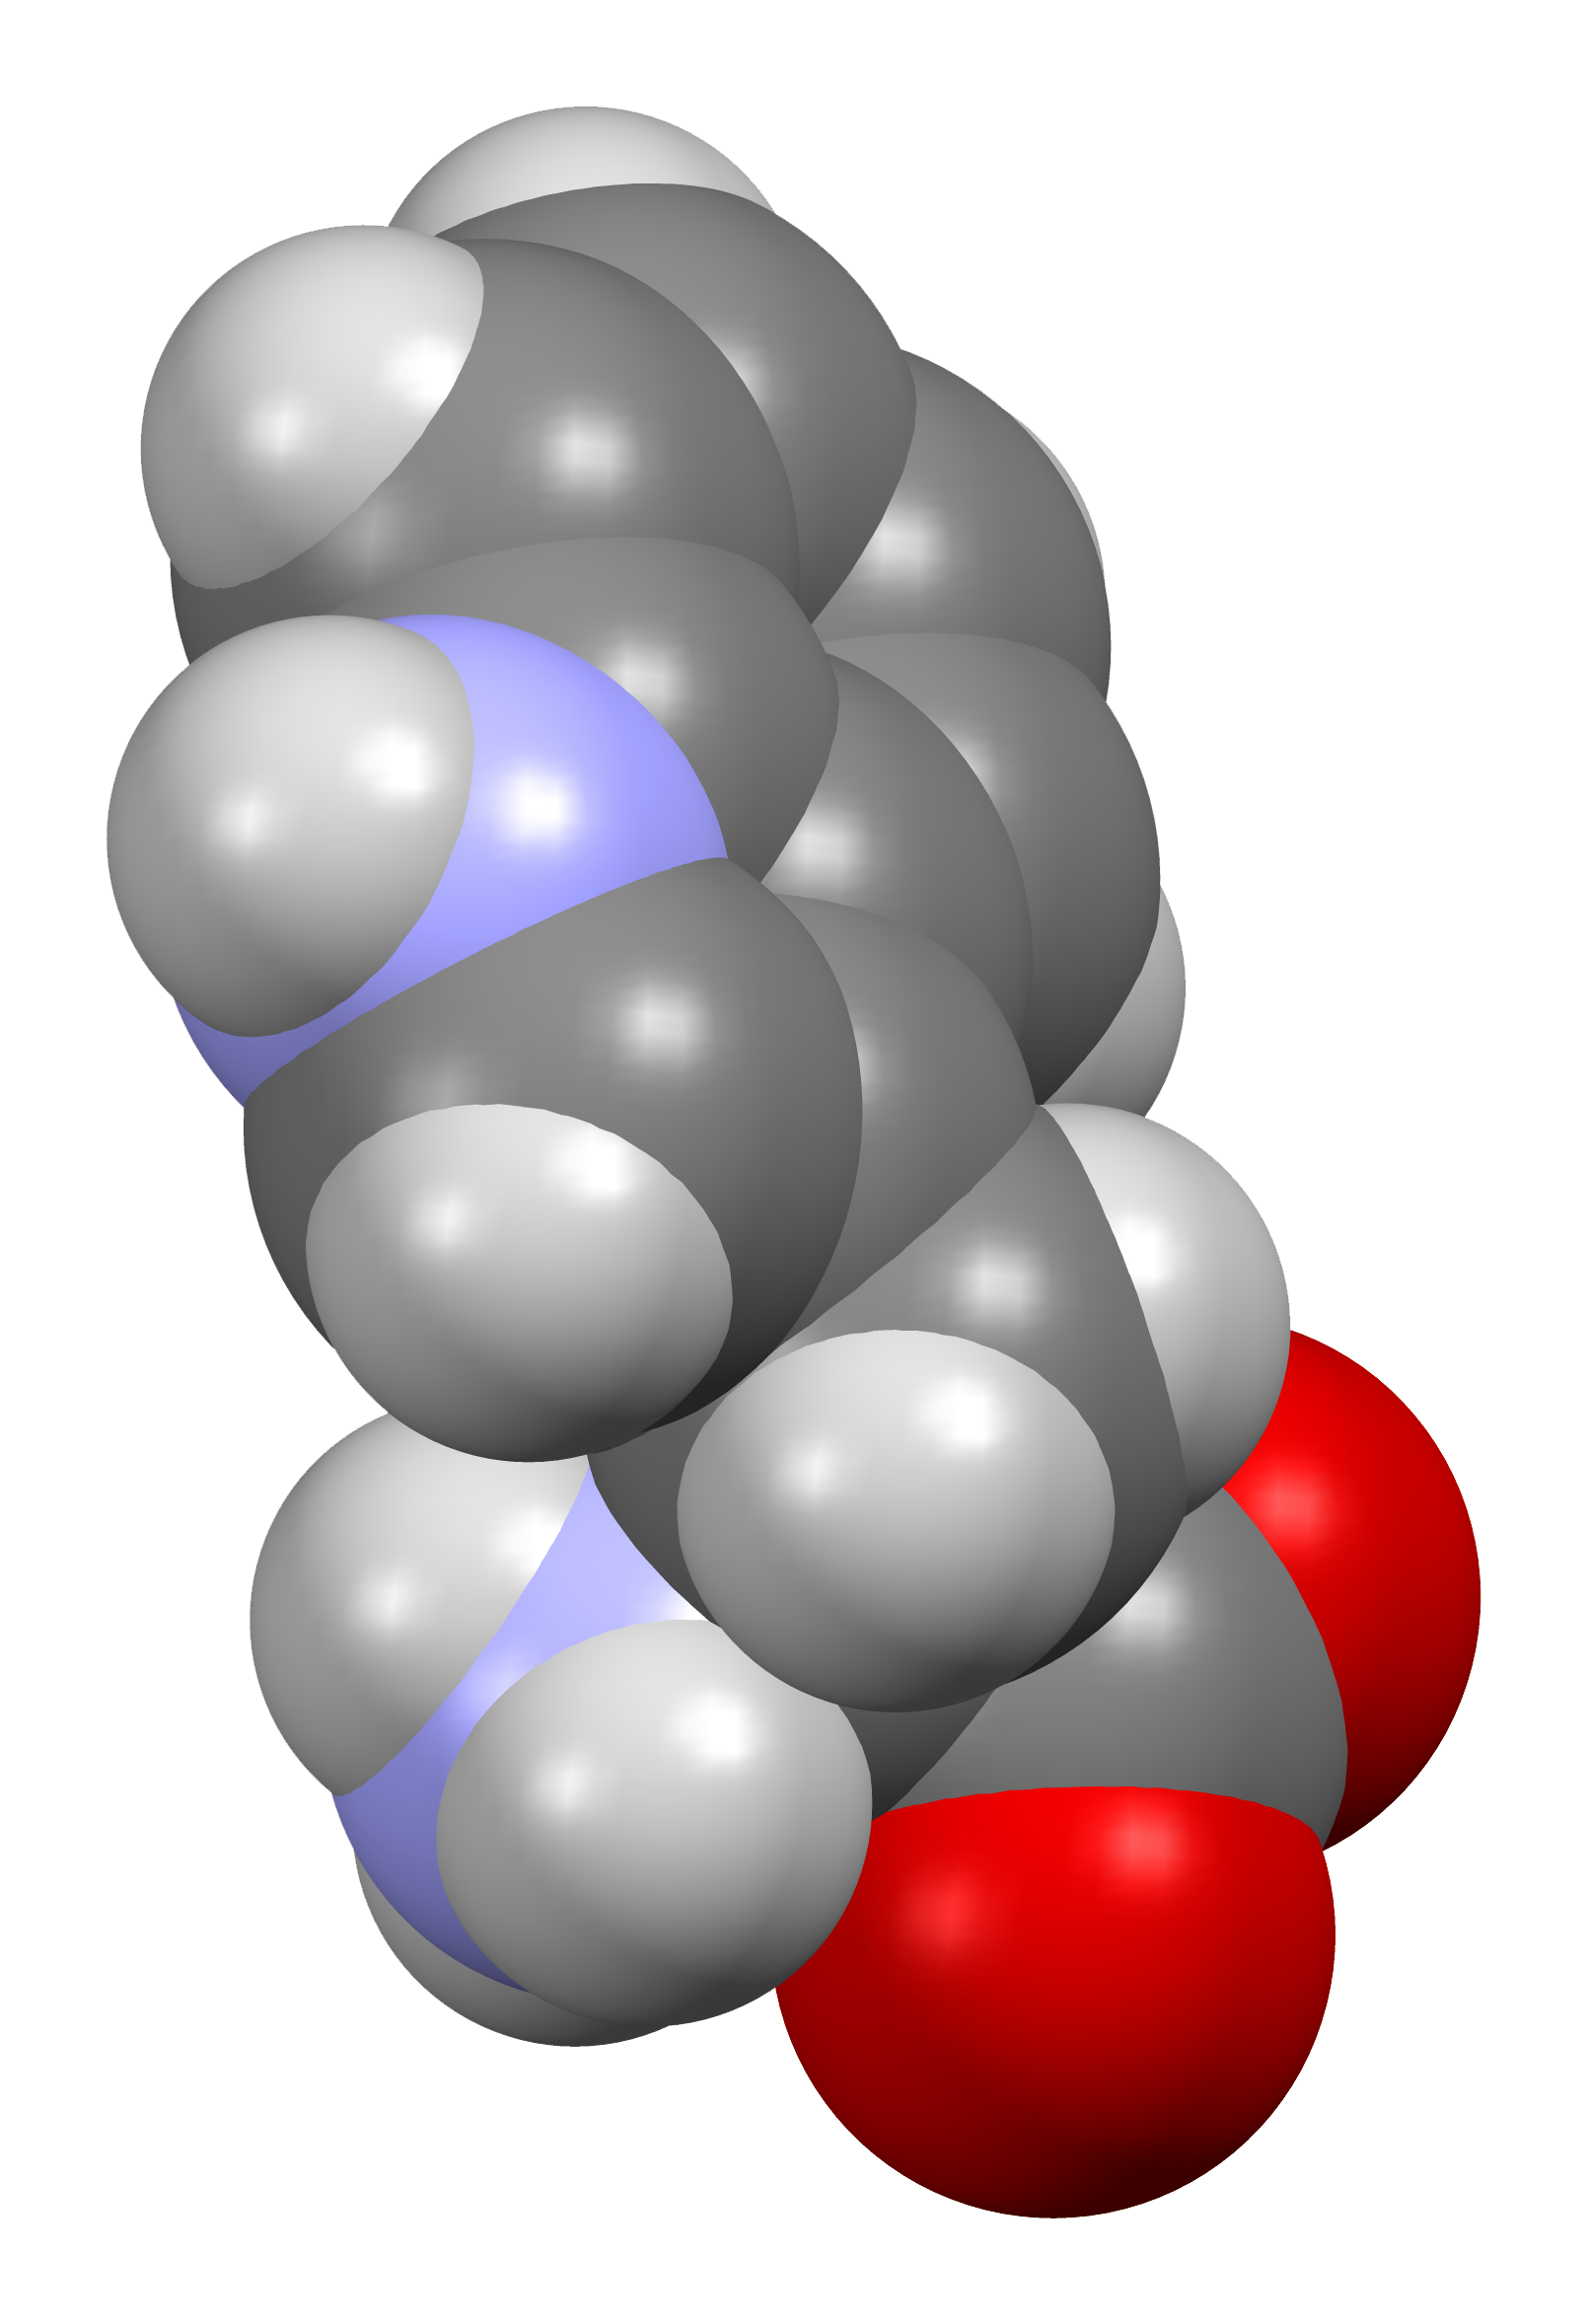
Giemsa is known as one of the most common and popular microscopic staining in the world. In fact, Giemsa is a standardized mixture of dyes (azure, eosin and methylene blue) that was first created by a German chemist named Gustav Giemsa. Gustav Giemsa used the obtained solution for the first time in a research project on the parasite that causes malaria. Giemsa's chemical formula is C14H14ClN2S and its molecular mass is 291.8 g/mol.
Due to its unique structure, Giemsa dye is used in many different laboratory departments (hematology, cytology, histology, microbiology, etc.) and is known as a versatile dye.
1. Giemsa solution
2. Buffer with pH 7.2 (to dilute dye solutions)
3. Glass slide
4. Distilled water
5. Pasteur pipette
6. Cuplin jar or petri dish
7. Blood sample (fresh capillary blood or blood collected from a vein containing EDTA)
1. Giemsa powder (3.8 grams)
2. Pure methanol (250 ml)
3. Glycerol (250 ml)
4. Laboratory scale
5. Measuring spoon
6. Graduated cylinder
7. Glass or plastic funnel
8. Dark glass bottle with screw cap (volume 500 ml)
9. Weighing paper
10. Glass beads cleaned with alcohol (3 to 5 mm)
11. Shikar
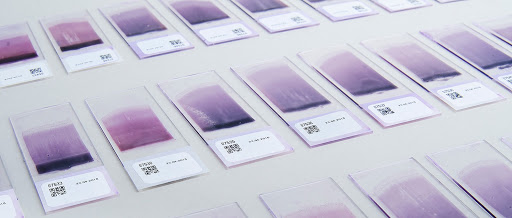
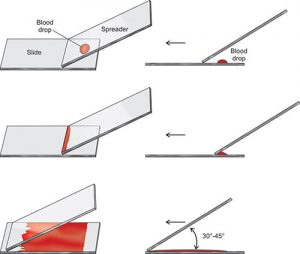
1. Take a drop of blood from the test tube with a capillary tube and place it on a clean laboratory slide. (If you use a heel or finger blood sample, throw away the first drop of blood)
2. Using another clean slide, spread the blood drop slowly (the angle of the slide should be 30 to 45 degrees to the surface of the slide)
3. Allow the slide to dry completely in the air
4. Dip all parts of the sample on the slide in methanol and let it dry completely. (to fix or stabilize the sample)
5. Dip the sample in the Giemsa solution diluted 1:20 for 20 minutes (use phosphate buffer to dilute the Giemsa solution)
6. After 20 minutes, wash the slide with distilled water.
7. Expose the slide to the air to dry completely. (Avoid drying the sample in the incubator)
8. Place the sample on the microscope for microscopic examination and you can examine the cellular components of the sample with a 40 or 100 lens.